At The Third Product, we empower creators to build stunning, interactive virtual tours with ease. But what makes a tour truly stand out? Here are our top editor tips and best practices to take your next project from simple to spectacular.
1. Start with a Clear Story
Before touching the editor, define your story. Every great tour has a narrative — a sense of direction, emotion, or purpose.
Ask yourself:
- What should the viewer feel or learn?
- Where do you want their journey to begin and end?
- What atmosphere do you want to create?
Think of it as designing a virtual experience, not just stitching together 360° photos. A clear story helps you decide which scenes to include and how to connect them meaningfully.
2. Capture Quality at the Source
Even the most advanced editing tools can’t fix poor image capture. When shooting your 360° content:
- Use a tripod to ensure stable, level shots.
- Avoid harsh midday lighting — early morning or late afternoon provides natural, soft light.
- Keep the lens clean and check each angle for unwanted objects or people.
- Use HDR settings if available for balanced exposure indoors and outdoors.
The sharper and more consistent your raw material, the more immersive the final result will feel.
3. Design for Flow, Not Just Function
Within The Third Product Editor, use hotspots and navigation paths strategically.
- Guide the viewer naturally — avoid overwhelming them with too many clickable elements at once.
- Use labels and icons sparingly for clarity.
- Consider the flow: how one space transitions to the next, or how information reveals itself.
A good tour feels intuitive. The viewer should always know where to go next without needing instructions.
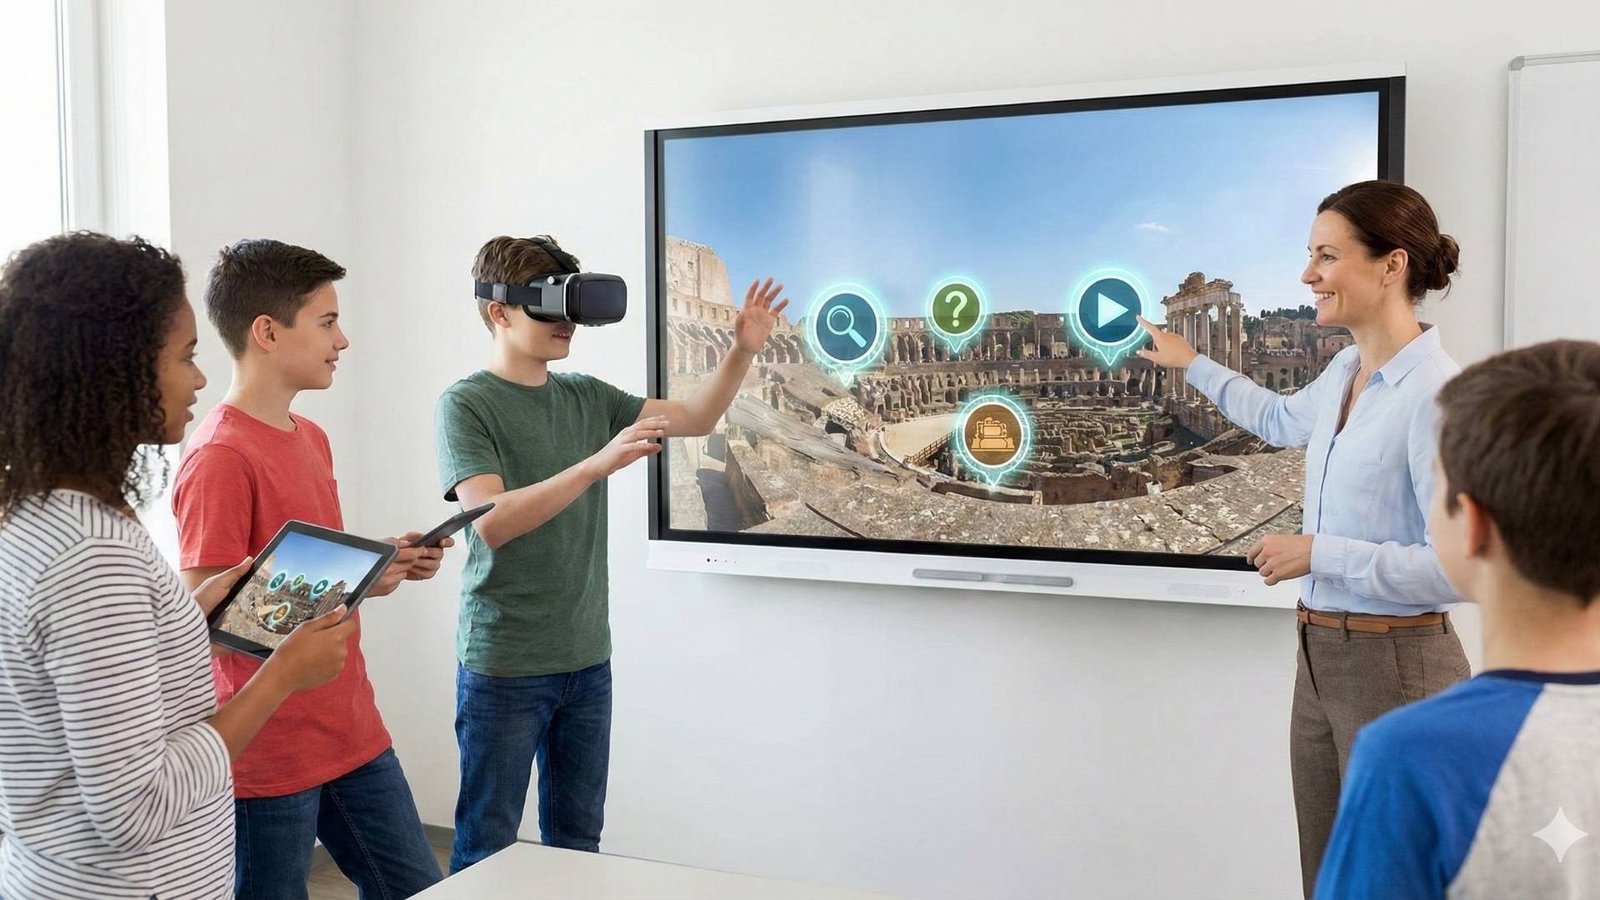
4. Add Context and Interactivity
The magic of a 360° tour lies in its interactivity. Bring your scenes to life by adding:
- Text pop-ups with key information or fun facts
- Embedded images or videos for deeper engagement
- Ambient sounds or voiceovers to build atmosphere
- Call-to-action elements (e.g., “Book Now,” “Learn More,” “Explore This Exhibit”)
These touches help transform a flat panorama into a meaningful, multi-layered experience.
5. Keep Accessibility in Mind
An engaging virtual experience should be accessible to everyone.
- Ensure text is readable on all devices.
- Avoid flashing or fast-moving visuals that could cause discomfort.
- Provide alternative navigation or captions for sound-based content.
The Third Product’s responsive design means your tours look great across screens — but accessibility is also about inclusion, not just technology.
6. Test, Share, and Iterate
Once your tour is ready, preview it on multiple devices.
Ask a few people to explore it and observe how they interact:
- Do they follow the path you intended?
- Do any hotspots feel confusing or misplaced?
- Is loading speed smooth across Wi-Fi and mobile data?
Use their feedback to refine and polish your experience before publishing. Remember: your first version doesn’t have to be perfect. The best creators test, tweak, and evolve.
7. Showcase Your Work
When your tour is ready to shine, don’t let it sit idle!
- Embed it on your website or digital portfolio.
- Share it across social channels with a teaser clip or preview image.
- Add it to The Third Product Global Library so others can explore and learn from your creativity.
Every project you publish builds your presence as a creator — and inspires others to start their own.
Final Thoughts
Creating a 360° virtual tour is part art, part technology. With the right story, visuals, and interactive design, you can craft an experience that transports your audience anywhere in the world.
The Third Product provides everything you need to bring your vision to life — from intuitive editing tools to a global library of immersive tours ready to explore.