A Beginner’s Guide to Shooting, Stitching, and Editing 360° Images
360 photography for virtual tours is the foundation of every immersive digital experience. In this guide, you’ll learn how to capture, stitch, and edit professional 360° photos step by step.
Creating a professional virtual tour starts with one essential skill — capturing high-quality 360° photos.
Today, shooting immersive panoramas is simpler and more affordable than ever, thanks to compact 360° cameras like the Insta360 series.
In this post, we’ll walk through the entire process: from choosing your camera to preparing polished, ready-to-upload 360° images for your virtual tour.
Choosing the Right 360° Camera
To create a true 360° virtual tour, you’ll need a dedicated 360 camera that can capture the entire environment around you in one shot.
One of the most popular and reliable models today is the Insta360 X5 — a lightweight, compact camera that shoots in 8K resolution.
It delivers sharp, seamless panoramic photos and videos, making it ideal for both professionals and beginners.
💡 Tip: You’ll also need a self-standing stick — a monopod with foldable tripod legs — so you can photograph without appearing in the image yourself.
Photo or Video — What Should You Choose?
The Insta360 X5 can record both video and still images.
For virtual tours, still photography (360° photos) is often the better choice.
It provides higher image quality, smaller file sizes, and smoother transitions between scenes.
If your goal is to create cinematic experiences or walkthroughs, then 360° video is a great option.
But if you’re building interactive hotspots or educational scenes — focus on stills.
From Capture to Stitching — Creating a 360° Image
Once you’ve finished shooting, transfer your images or videos into the Insta360 desktop software.
This step is called stitching — the process of merging the two fisheye lenses into a single spherical panorama.
The result is a JPEG file in a 2:1 aspect ratio, ready to be edited and uploaded.
The software automatically corrects perspective and horizon alignment, but you can fine-tune it manually for perfect results.
Editing and Enhancing Your 360° Photos
After exporting your stitched images, open them in Adobe Photoshop (or any image editor that supports large panoramas).
Here you can:
- Remove unwanted objects (like the tripod shadow or photographer reflection).
- Adjust colors, contrast, and lighting.
- Enhance clarity or add branding elements (like a small logo or watermark).
Make sure to save your final image as a JPG (2:1 ratio) — this format is compatible with all major 360° platforms.
Where to Publish Your 360° Content
Once your 360° images or videos are ready, you can upload them to:
- YouTube – supports interactive 360° video playback.
- Facebook – allows users to explore panoramas by swiping or tilting their phone.
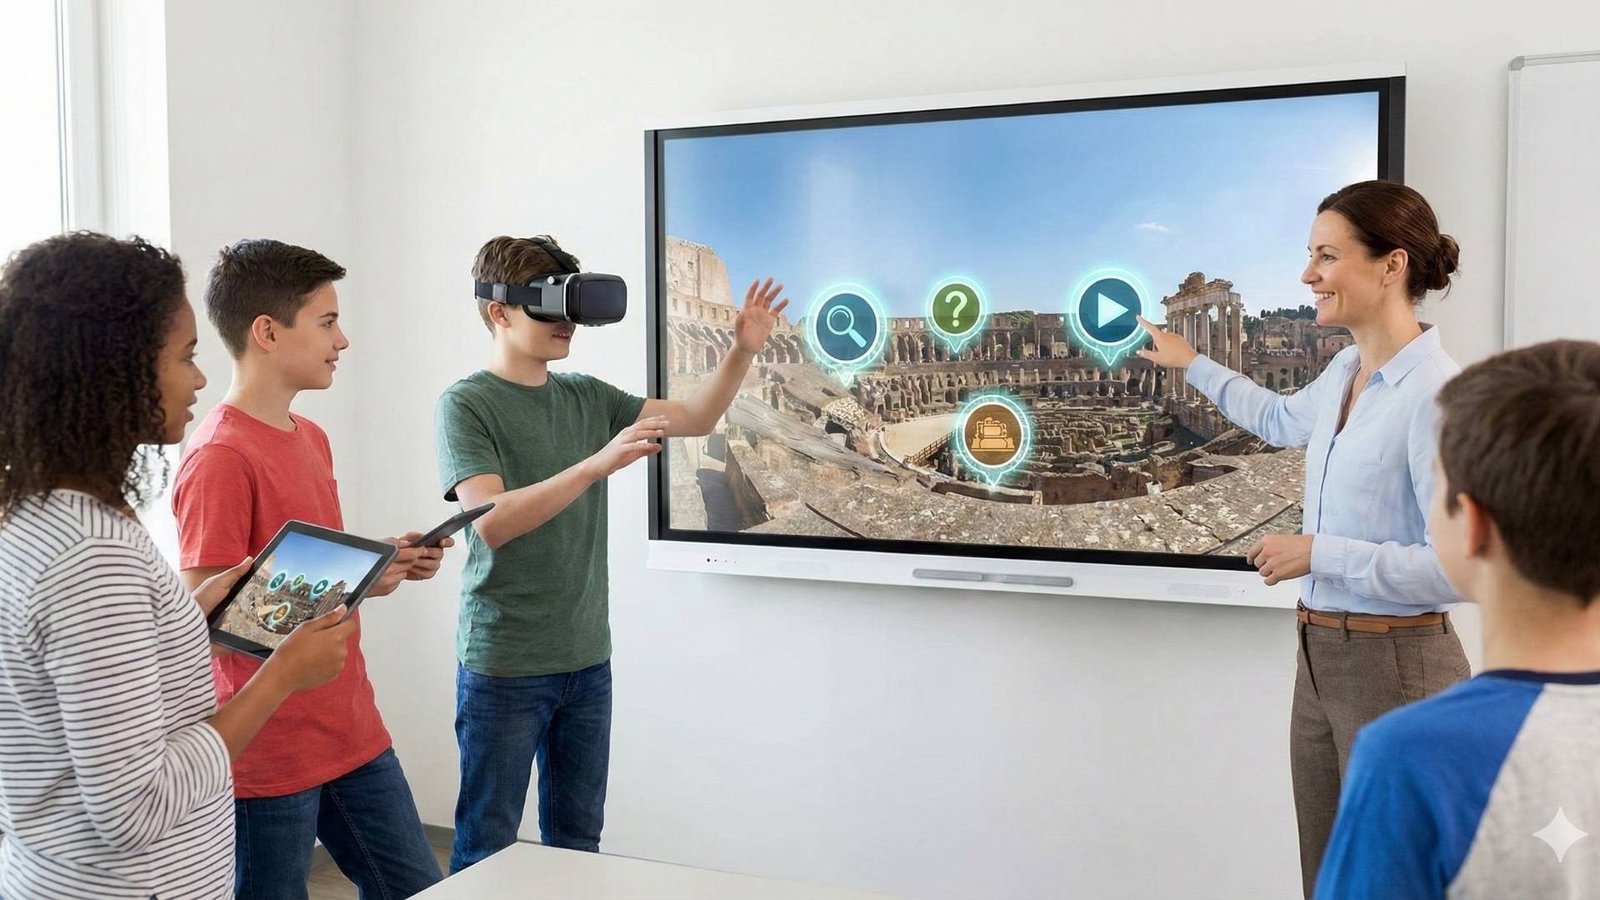
- The Third Product Platform – designed specifically for creating and sharing interactive virtual tours with hotspots, narration, and navigation.
Each platform automatically detects the 360° metadata and displays your media in a spherical, immersive format.
Integrating with The Third Product
Our platform makes it easy to turn your stitched 360° photos into a full virtual tour experience.
Simply upload your images, arrange them as scenes, add navigation arrows, and enrich your tour with hotspots, videos, and text.
Within minutes, you’ll have a professional-looking virtual tour that can be shared or embedded anywhere.
Final Thoughts
Creating your first 360° photo tour might sound technical — but with the right tools, it’s surprisingly simple.
The Insta360 X5 and basic editing software are all you need to start.
From capture to stitch, edit to share, every step brings you closer to turning real places into unforgettable virtual journeys.
With the right tools and workflow, 360 photography for virtual tours can turn any location into an unforgettable digital journey.
👉 Ready to create your own virtual tour?
Start capturing 360° photos today and bring your spaces to life with The Third Product.
To learn how to turn your 360° photos into a complete interactive tour,
read our guide on how to create a virtual tour.